update:
- date: 2026-3-2 author: yono content: In memory of the late xLog.
Switched Image Hosting Again
Early on, I used SM.MS as my image host, but it was way too laggy—uploading and loading were both slow as hell.
Then I switched to the blog’s built-in image hosting. It was indeed very fast, but it relied on the original domain.
I found a free, easy-to-use solution on xLog (xLog is dead), so I migrated—everything can be migrated!

Preparation
1. First, the overall idea
Telegram handles image storage, Cloudflare provides network support, and the free domain provided by Cloudflare Pages serves as the entry point. ImgBed then connects storage and network requests together, providing both the basic and extended features of an image hosting service.
2. Websites and tools you’ll need
The following sites require an account. It’s a good idea to register in advance or open a separate browser and keep it on standby, since these are foreign sites and you can’t be sure whether sign-up or access will go smoothly.
-The famous gay dating site https://github.com/
- Global cloud platform Cloudflare China Official Website | Cloudflare
- The little paper plane Telegram
The Telegram Part
1. Get the first parameter: TG_BOT_TOKEN
In Telegram, send /newbot to @BotFather and follow the prompts to enter the bot’s display name, username, and so on. Once it’s created successfully, the red part shown in the image is TG_BOT_TOKEN.
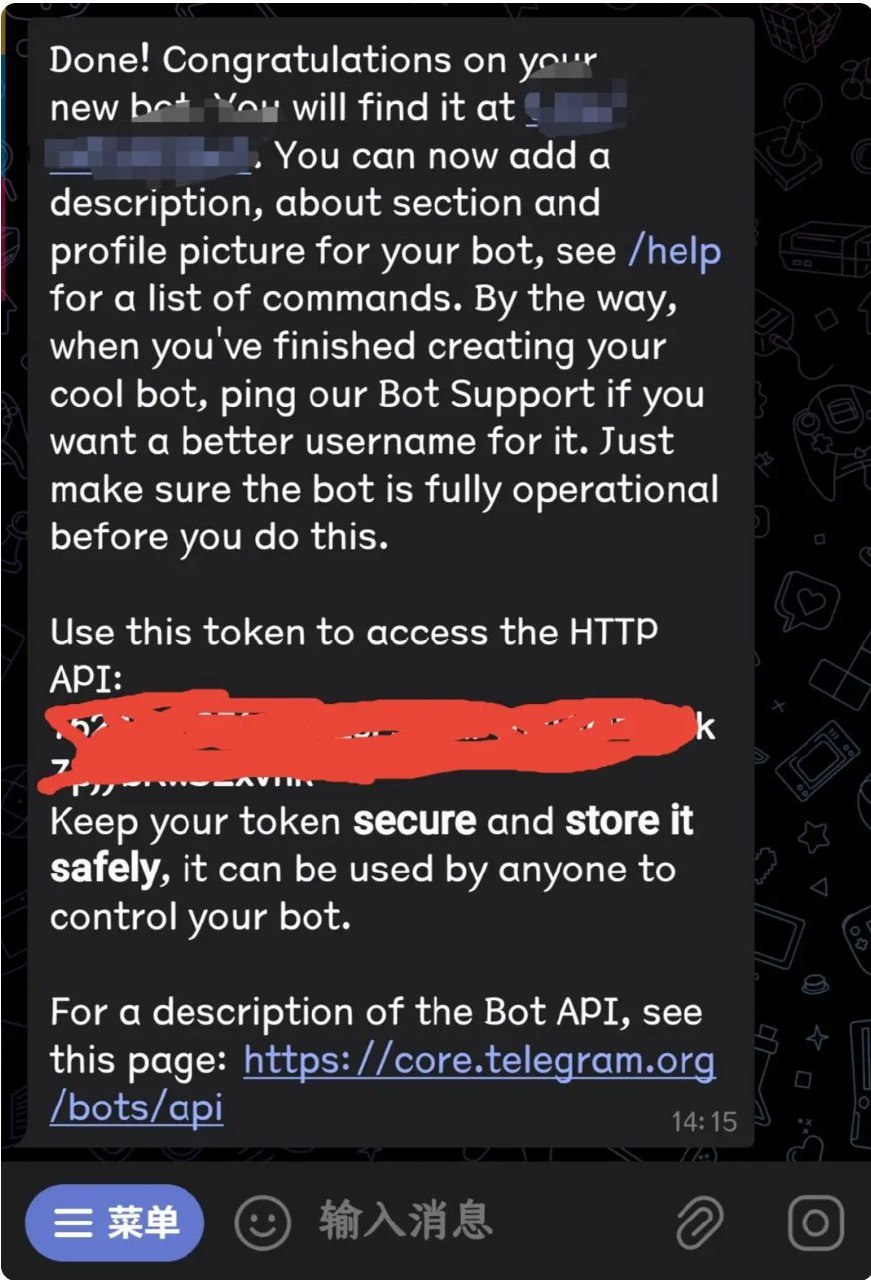
2. Get the second parameter: TG_CHAT_ID
Create a new channel and add the bot to it as shown below.
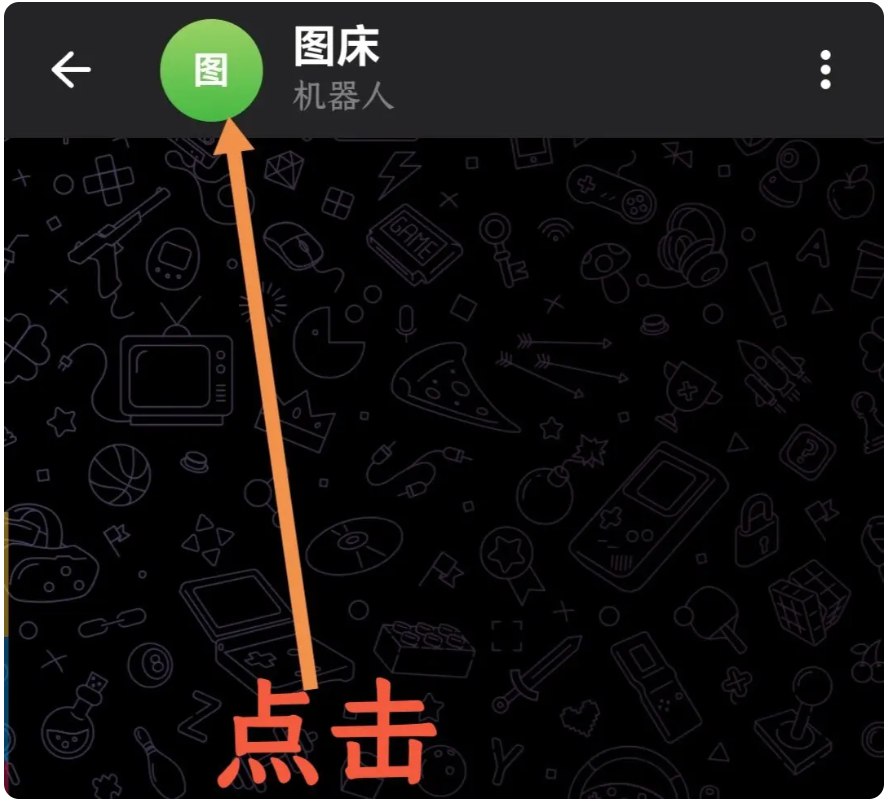
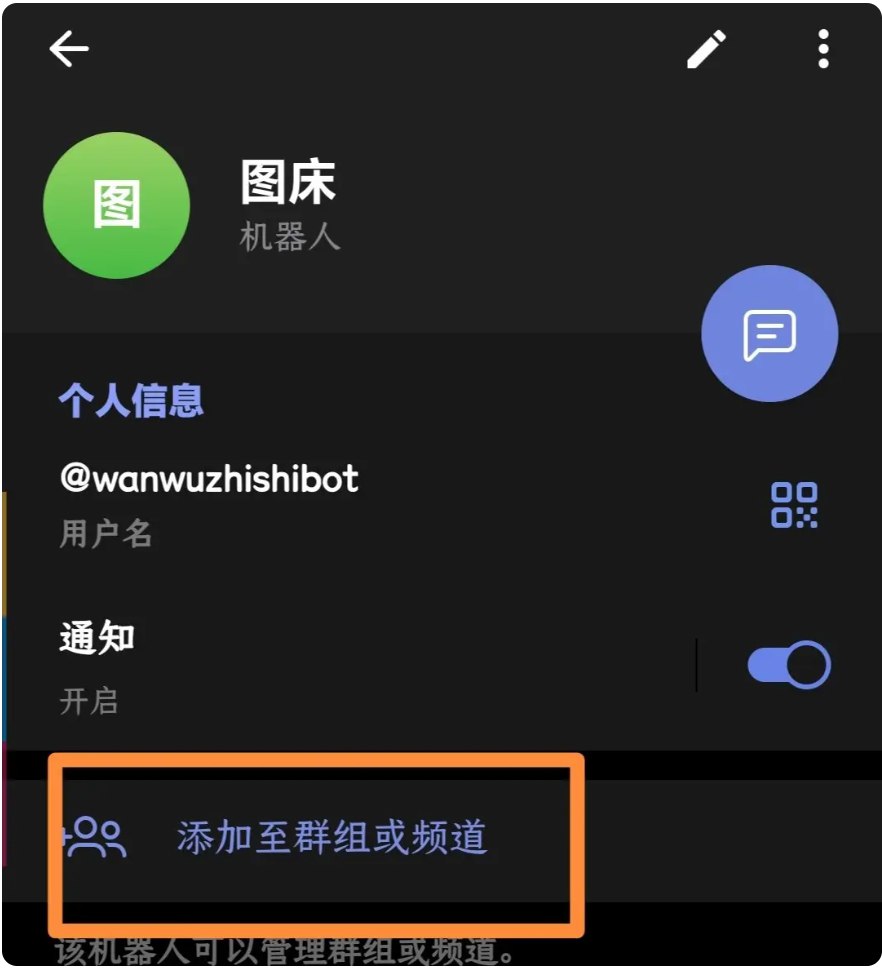
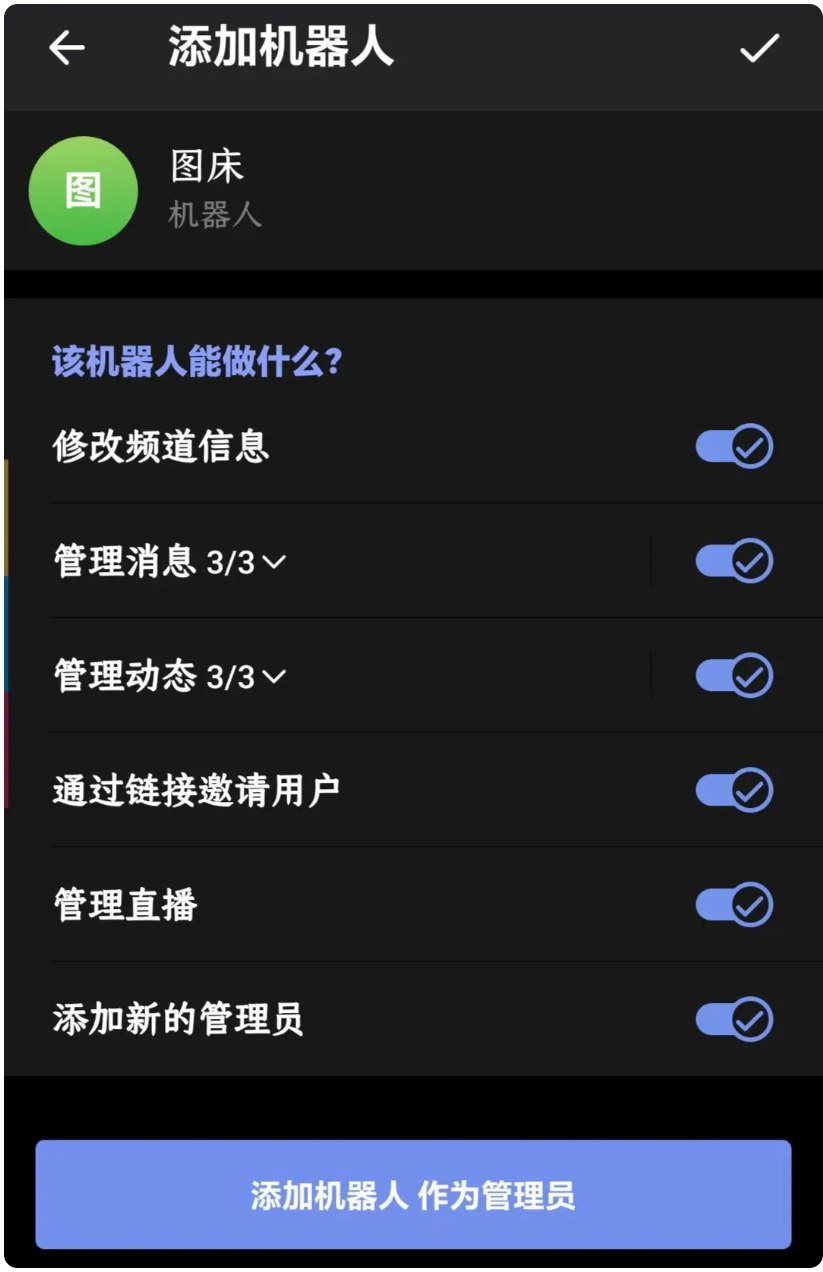
Select the channel you just created and grant the bot administrator permissions.
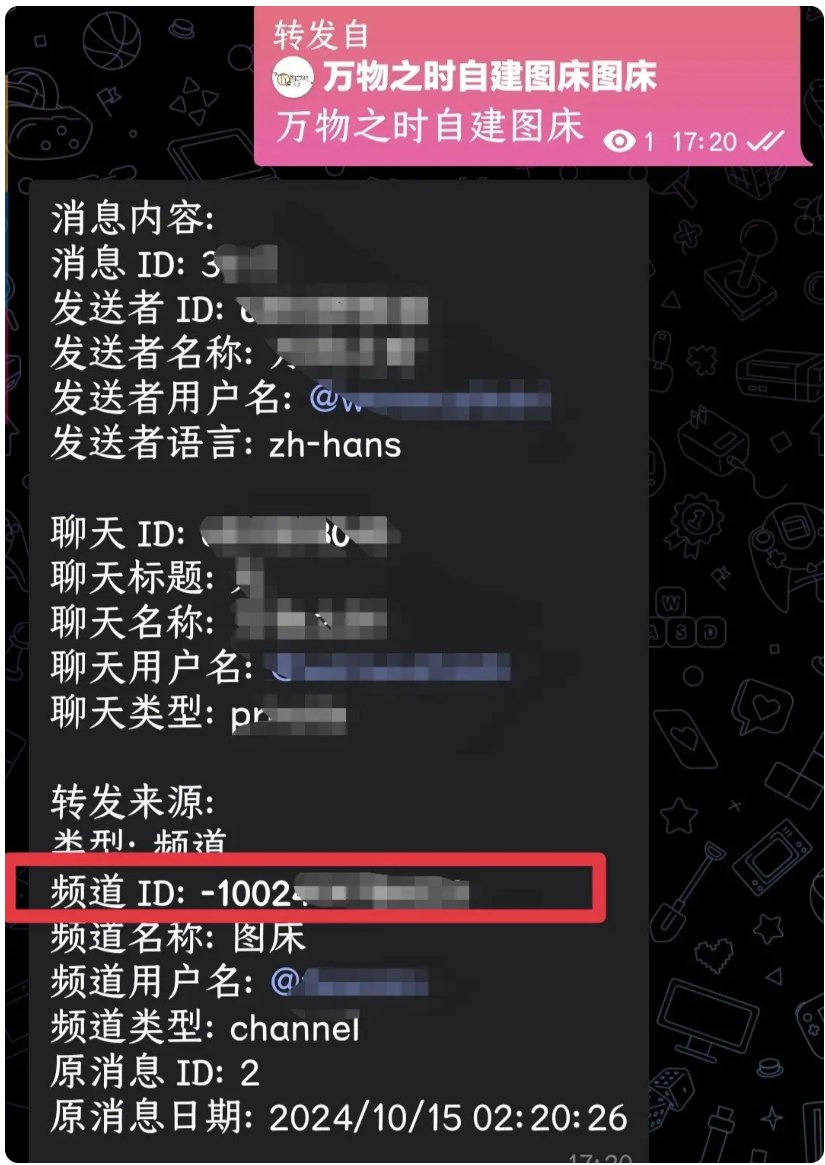
Forward a message from the channel you created in step 2 to @VersaToolsBot to get the channel ID (TG_CHAT_ID).
Don’t forget the minus sign before the channel ID.
The GitHub Part
First, remember the two parameters from the previous section.
Fork the original author’s repository into your own account.
The Cloudflare Part
Open Home | Cloudflare, go to the Pages management page, click Create project, and choose Connect to Git provider.
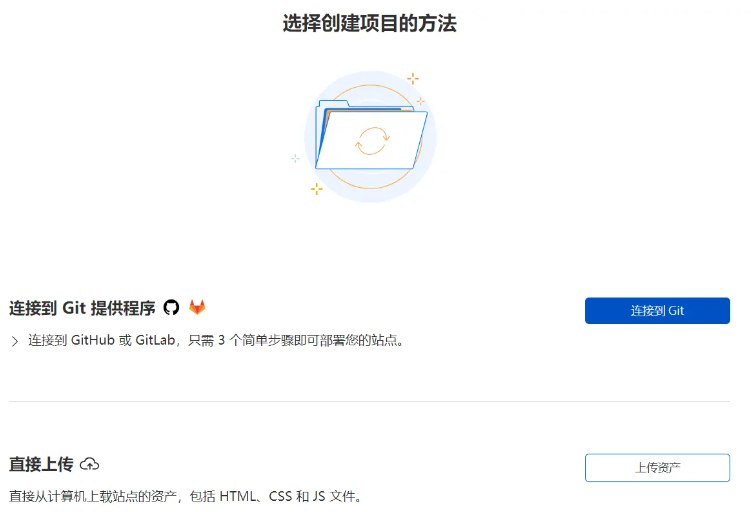
Follow the on-screen prompts to enter a project name, choose the Git repository to connect, and click Deploy site.
Add the two values you got earlier as environment variables named TG_BOT_TOKEN and TG_CHAT_ID.
Deploy first; once that’s done, you can add some other environment variables.
| Variable name | Purpose | Recommended? |
| TGCHATID | Telegram channel ID | Required |
| TGBOTTOKEN | Telegram bot token | Required |
| BASIC_USER | Admin panel username | Recommended |
| BASIC_PASS | Admin panel password | Recommended |
| AUTH_CODE | Frontend auth code | Highly recommended — prevents others from abusing it |
| ModerateContentApiKey | Image moderation API. How to use it is covered later; enter the API key you obtained here. | |
| ALLOWED_DOMAINS | Hotlink protection / access domain restriction. Separate multiple allowed domains with ,, e.g. 域名.com,域名2.top | Not necessary. Since traffic is unlimited and speed won’t be affected, it may just cause inconvenience for you. |
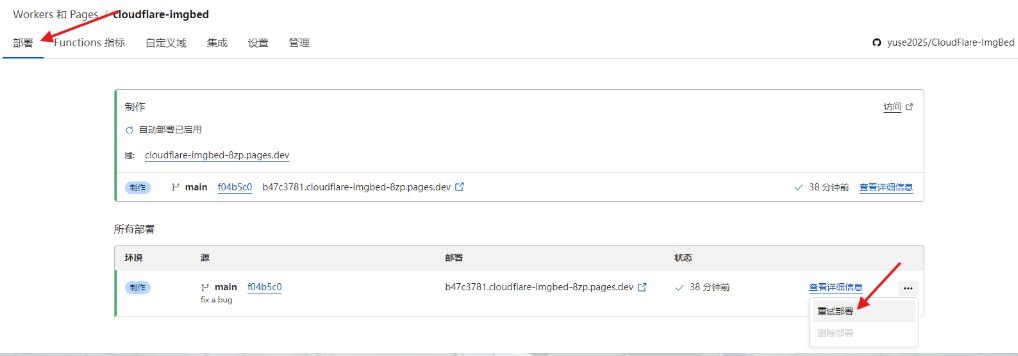
If you modify the environment variables after deployment, you need to retry the deployment.
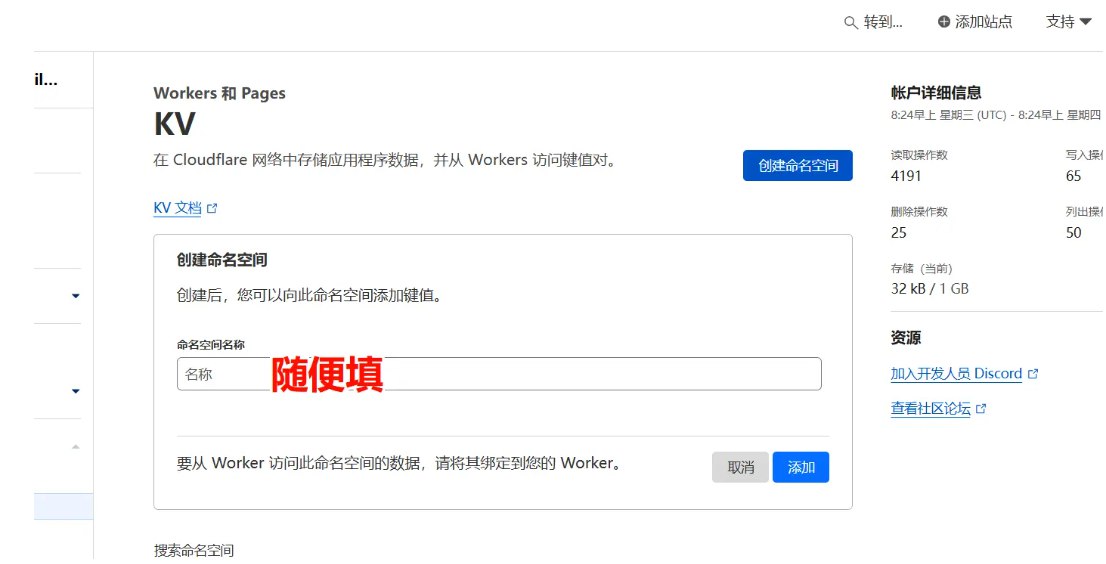
Create a new KV namespace.
In your project, go to Settings > Functions > KV namespace bindings > Edit binding, enter img_url as the variable name, and select the KV namespace you just created.
Retry the deployment, and it will work normally.